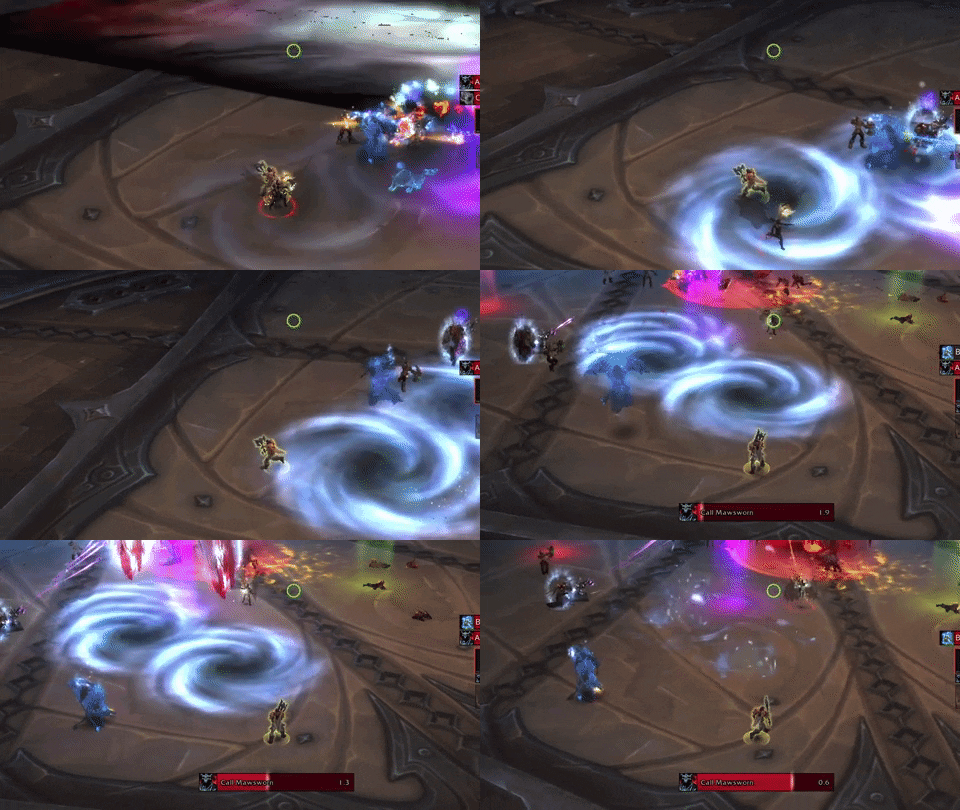
Soulrender Dormazain
Guida in italiano Qua!
Cliccate su Leggi Tutto per la guida completa in inglese!
Soulrender Dormazain Quick Tips
General
-
Move to the safe slice during
 Torment.
 -
When Garrosh Hellscream is bound by
 Warmonger Shackles, players should click them and run away until the chain breaks.
 -
Stand on Mawsworn Agonizers when affected by
 Brand of Torment.
 -
Avoid standing in the
 River of Souls near Garrosh Hellscream.
 -
Move to the safe slice each time a new one appears while the boss is channeling Encore of
 Torment.
Tanks
-
Taunt swap after each cast of
 Ruinblade.
 -
Tank Mawsworn Agonizers near each other to make cleaving more efficient.
Healers
-
Snapping
 Warmonger Shackles causes the raid to take a burst of damage from
  Unleashed Tyranny.
 -
Players with
 Brand of Torment will take constant damage, and deal damage to nearby allies.
DPS
-
Interrupt Mawsworn Agonizers when they cast
 Agonizing Nova.
 -
Kill Mawsworn Agonizers before they reach Garrosh Hellscream.
-
Use Time Warp on pull.
Soulrender Dormazain Abilities & Strategy
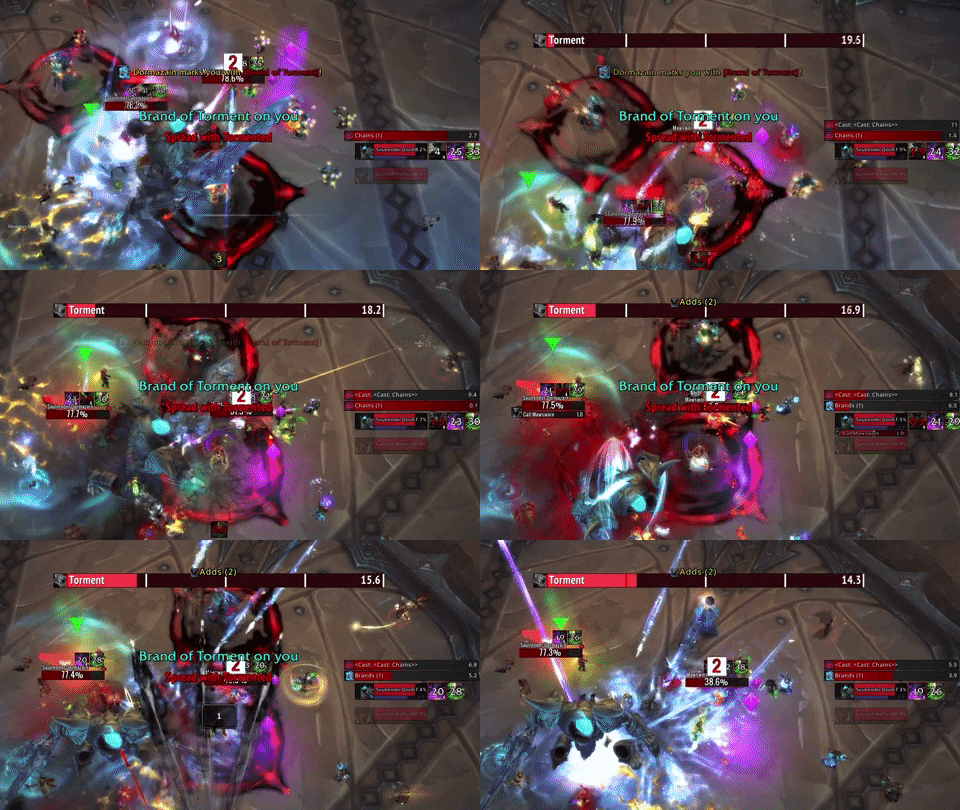
This encounter will require the raid to dodge telegraph mechanics and kill adds that spawn in the back of the encounter area before they reach Garrosh Hellscream. Mawsowrn Agonizers will spawn in the back of the encounter area and start walking towards Garrosh Hellscream while periodically casting ![]() Agonizing Nova, which must be interrupted.We recommend gripping/knocking the Mawsworn Agonizers together and standing on them with
Agonizing Nova, which must be interrupted.We recommend gripping/knocking the Mawsworn Agonizers together and standing on them with ![]() Brand of Torment to make killing them easier.
Brand of Torment to make killing them easier.
When Garrosh Hellscream becomes bound by ![]() Warmonger Shackles, players must interact with them and run away from their original position until the chains snap. Be careful not to snap more than one chain at a time, because they deal damage to the whole raid.
Warmonger Shackles, players must interact with them and run away from their original position until the chains snap. Be careful not to snap more than one chain at a time, because they deal damage to the whole raid.
While the boss channels Encore of ![]() Torment, safe zones will alternate several times requiring the raid to avoid being hit by
Torment, safe zones will alternate several times requiring the raid to avoid being hit by ![]() Torment.
Torment.
Soulrender Dormazain Phase One
Mawsworn Agonizer
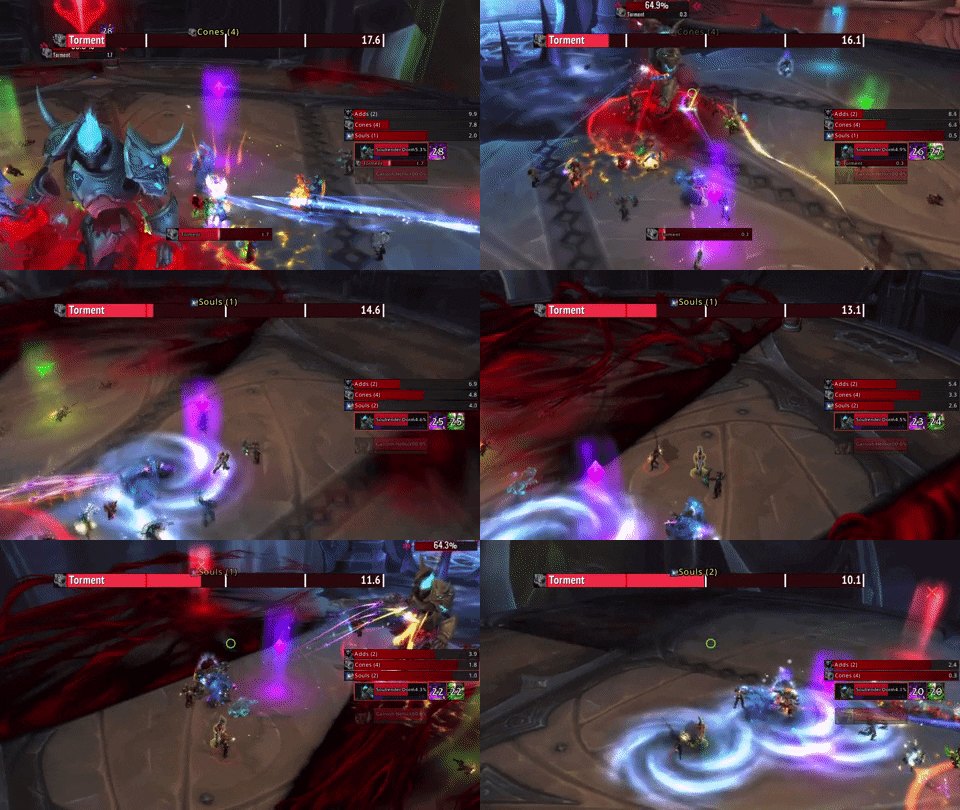
Several Mawsworn Agonizers will spawn in the back of the encounter area and start moving towards Garrosh Hellscream.
-
If they ever reach Garrosh Hellscream, or their energy reaches 100, they will be immune to crowd control and deal 200% increased damage.
-
Interrupt casts of
 Agonizing Nova.
 -
These mobs can be gripped, and knocked to group them for easier AoE damage.
 Brand of Torment
Random players will be marked with ![]() Brand of Torment, which will inflict shadow damage to nearby allies, and cause Mawsworn Agonizers within the brand to take 50% increased damage.
Brand of Torment, which will inflict shadow damage to nearby allies, and cause Mawsworn Agonizers within the brand to take 50% increased damage.
-
Marked players should stand on top of Mawsworn Agonizers to make killing them significantly easier.
 Torment
The boss will periodically unleash a wave of ![]() Torment, causing all but one slice of the room to fill up and explode.
Torment, causing all but one slice of the room to fill up and explode.
-
Move to the safe slice when
 Torment is cast.
 -
The
 Torment will begin to grow from the back of the encounter towards Garrosh Hellscream. Looking towards the back of the encounter area is the quickest way of identifying the safe slice.
Encore of  Torment
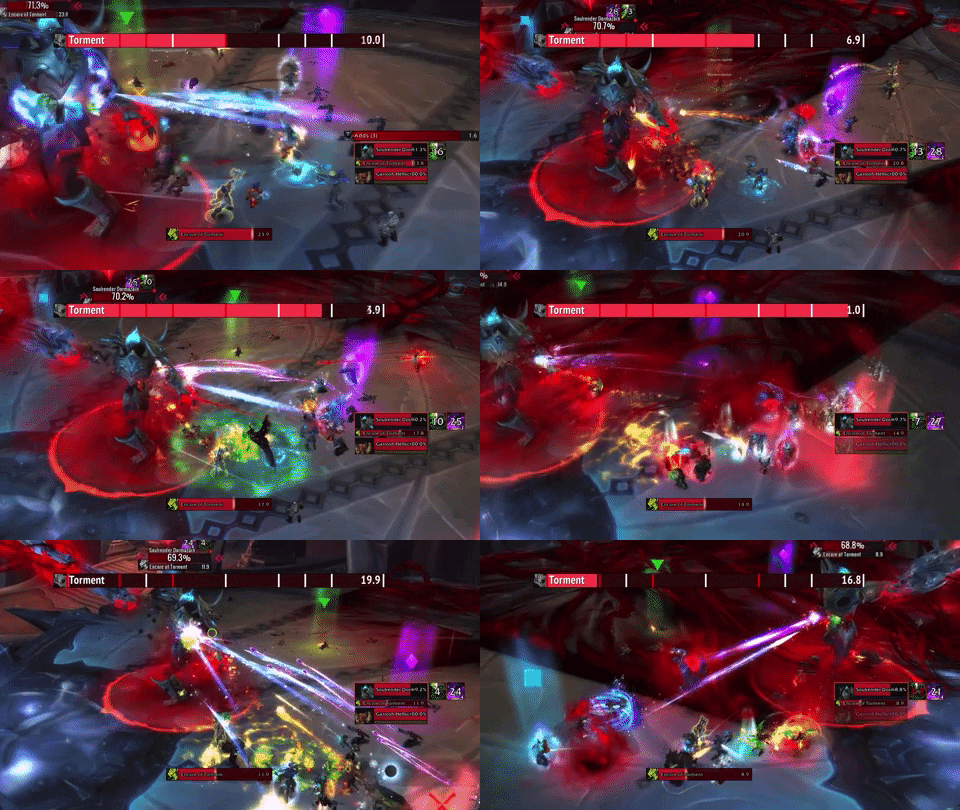
Soulrender Dormazain will periodically cast an Encore of ![]() Torment, where the room will continuously fill up with
Torment, where the room will continuously fill up with ![]() Torment.
Torment.
-
Move from safe zone to safe zone as each slice fills with
 Torment.
 Warmonger Shackles
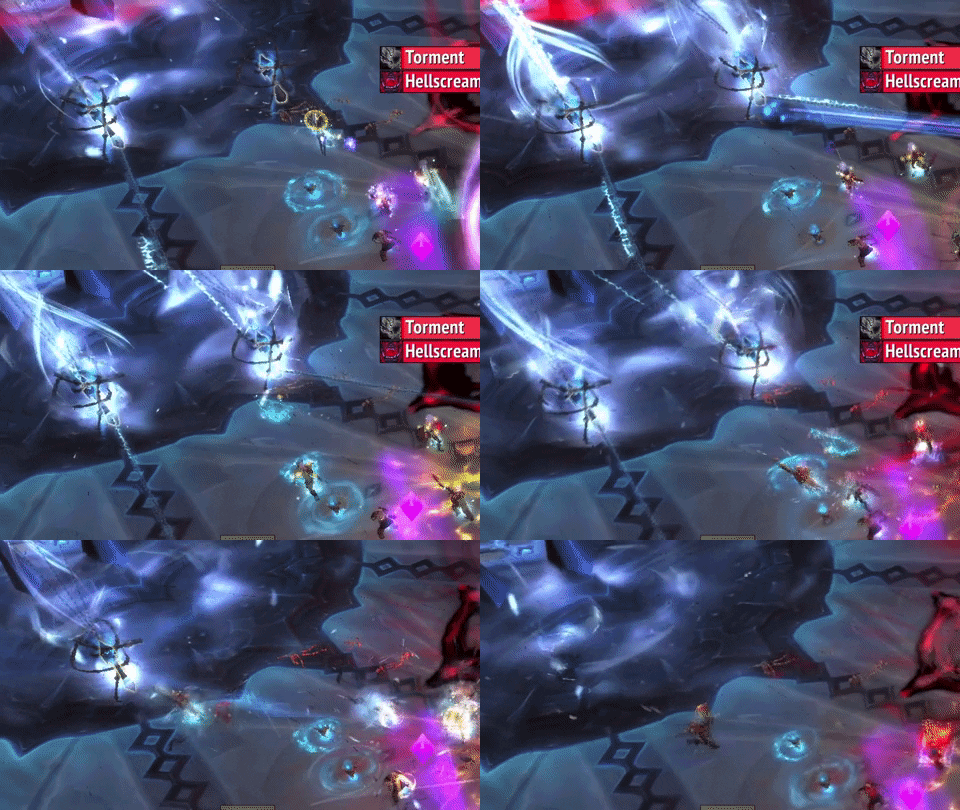
Soulrender Dormazain will periodically bind Garrosh Hellscream with ![]() Warmonger Shackles, which must be removed before Garrosh Hellscream begins to
Warmonger Shackles, which must be removed before Garrosh Hellscream begins to ![]() Hellscream.
Hellscream.
-
 Warmonger Shackles can be clicked, then snapped by running away from their original location.
 -
When a
 Warmonger Shackles is snapped, the raid will take a burst of damage from
  Unleashed Tyranny.
 -
It is best to snap one
 Warmonger Shackles at a time to give healers time to heal the raid.
 Ruinblade
The boss will strike its current target with ![]() Ruinblade, causing them a large amount of physical damage, and applying a stackable debuff that causes the target to take 100% increased Physical damage for 40 seconds.
Ruinblade, causing them a large amount of physical damage, and applying a stackable debuff that causes the target to take 100% increased Physical damage for 40 seconds.
-
Tanks use defensive cooldowns for these strikes.
-
Taunt swap after each cast of
 Ruinblade.
 River of Souls
A ![]() River of Souls surrounds Garrosh Hellscream. Standing within it will deal shadow damage to players and reduce their damage done and healing taken by 100%.
River of Souls surrounds Garrosh Hellscream. Standing within it will deal shadow damage to players and reduce their damage done and healing taken by 100%.
Heroic Soulrender Dormazain
This encounter does not change much on Heroic, as the only notable change is having a rotation of players to interact with ![]() Warmonger Shackles due to the
Warmonger Shackles due to the ![]() Soul Manacles debuff. We suggest having dps take turns interacting with the
Soul Manacles debuff. We suggest having dps take turns interacting with the ![]() Warmonger Shackles until the end of the encounter.
Warmonger Shackles until the end of the encounter.
The only other addition is ![]() Rendered Soul, which is a simple dodge-able AoE spell.
Rendered Soul, which is a simple dodge-able AoE spell.
 Rendered Soul
Fragments of Garrosh Hellscream's soul will periodically cascade into the encounter area, dealing damage to any players struck.
-
Move out of
 Rendered Souls.
 Soul Manacles
After snapping a ![]() Warmonger Shackles, players will gain a debuff that deals shadow damage and prevents them from interacting with
Warmonger Shackles, players will gain a debuff that deals shadow damage and prevents them from interacting with ![]() Warmonger Shackles again.
Warmonger Shackles again.
-
Only players without the
 Soul Manacles debuff are able to interact with and snap
  Warmonger Shackles.

